2. Single Tags
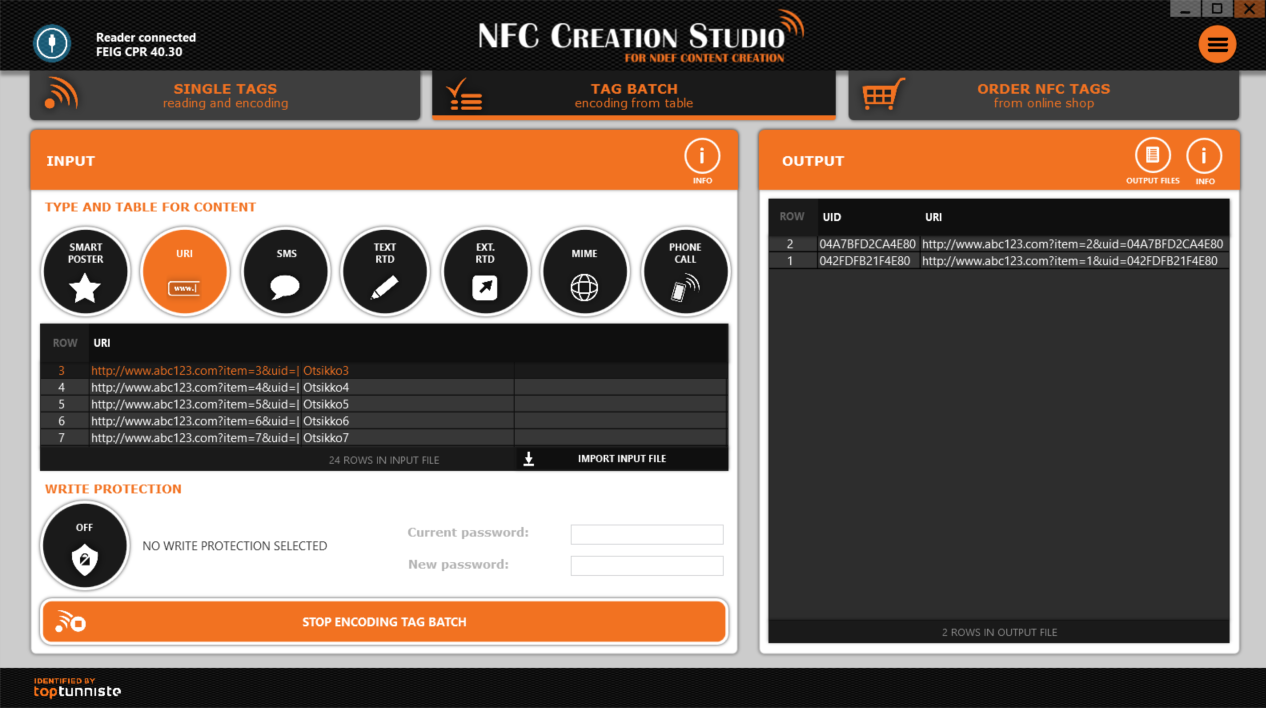
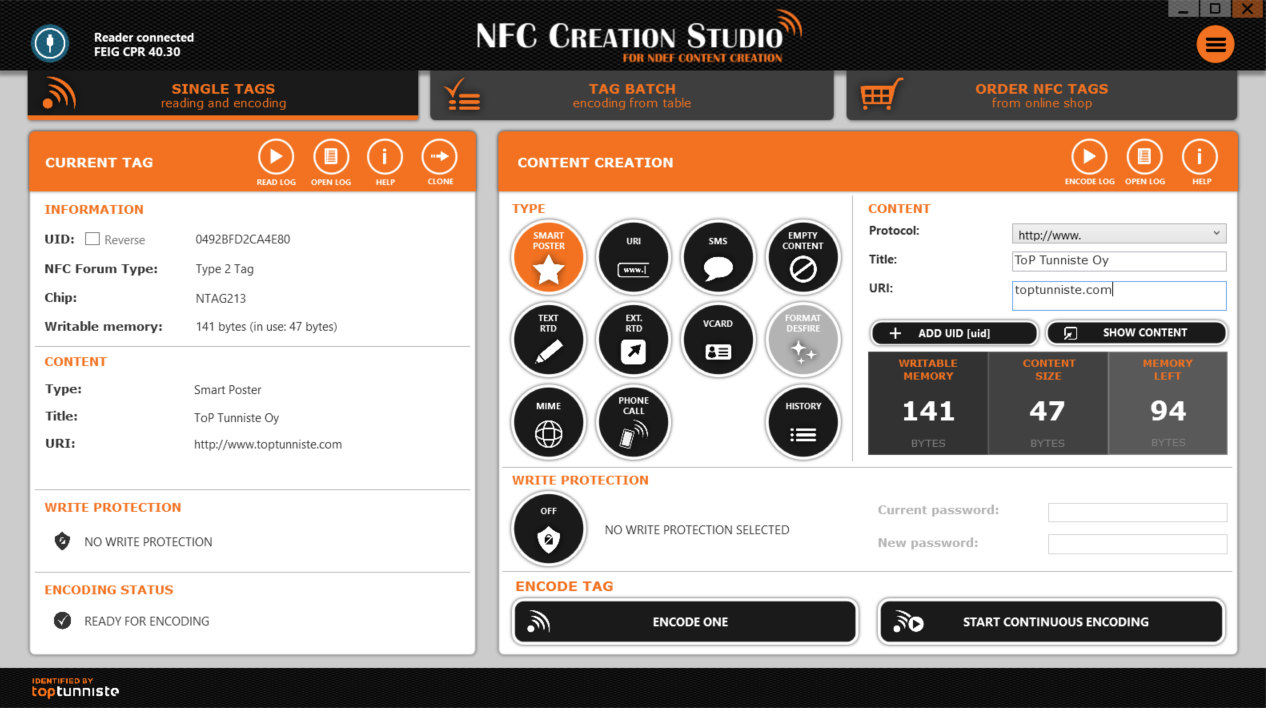
In this view tags can be read and be written. The view is splitted to two sections: (1) Current Tag and (2) Content Creation. The Current Tag -section shows the current information of the tag in the reader. The Content Creation -section gives you the tools to create and encode content for tags.
2.1. Current tag
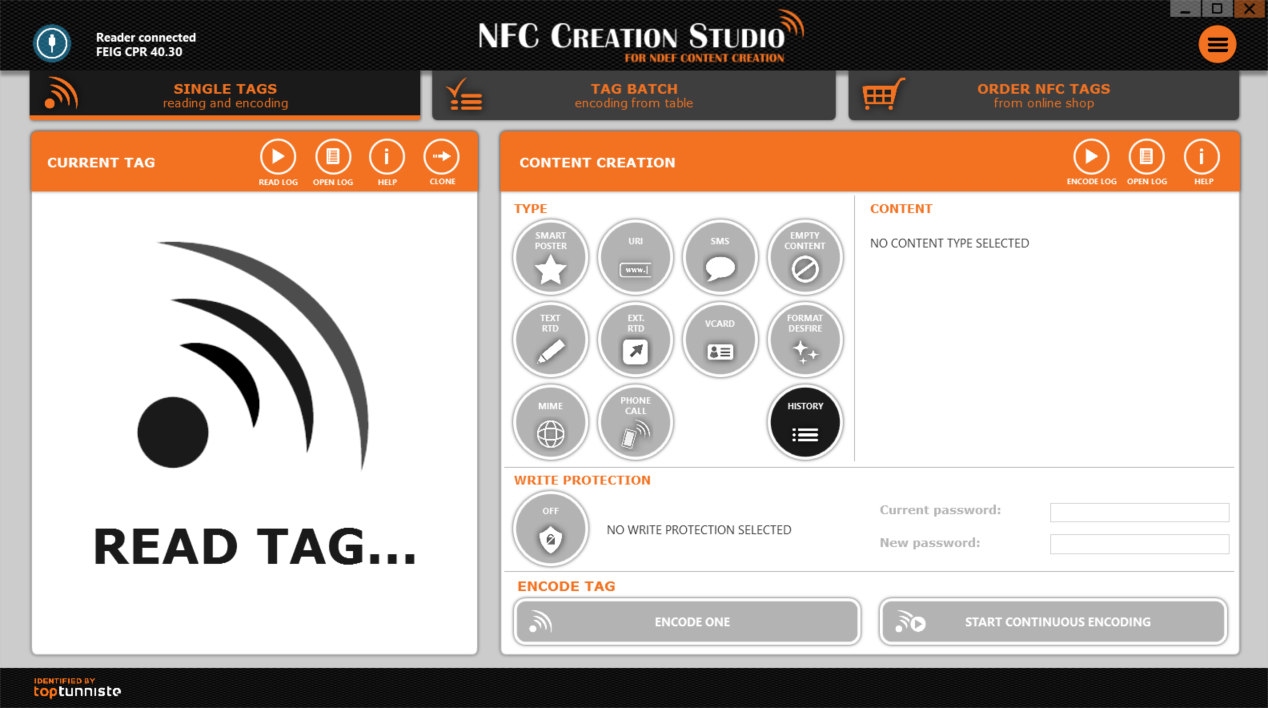
The current tag -section shows the current information of the tag in the reader. The section has two states:
(1) Read tag -indication to indicate that the reader is waiting a tag to be read
(2) Tag information consisting of information of tag (UID, NFC Forum Type, Chip, Writable memory), tag content, tag write protection state and tag encoding status.

Write protection states:
 No write protection
 Write protection: permanent
 Write protection: with password
 Write protection: with key
Encoding statuses:
 Encoding forbidden (tag has permanent write protection)
 Ready for encoding
 Encoded successfully
 Encoding failed
Toolbar buttons:

- Read log -button starts and stops writing the information and content of the read tags to the log file.
- Open log -button opens the log folder. Read log filepath is C:\Users\Public\NFC Creation Studio\Logs\NFC_read\. Though the drive may be different than 'C:'.
- Clone -button will clone the tag content to the "content creation" section. There it can be edited or written again. This way it's also easy to clone tag content to another tags.
2.2. Content creation
Steps to start encoding tags:
1. Set a tag on the reader
2. Select a type for the content
3. Input the content data based on the selected type
4. Set write protection settings if needed
5. Start encoding tags either with Encode One -button or with Start Continuous Encoding -button*
*Check more info about encode one and continuous encoding -features later from this section.
NDEF content types:
| Type | Content |
|---|---|
| Smart poster | Includes input fields: protocol, title and URI. There is specific functionality for smart poster and URI that will detect if there is same protocol in the URI field and protocol field and remove it from the other. If protocol is selected and the same protocol is already written in the URI field it will be removed from there. Also if protocol is selected and the same protocol is typed in the URI then it will be removed from the protocol field. |
| URI | Includes input fields: protocol and URI. Look from the smart poster information about protocol functionality. |
| SMS | Includes input fields: title, phone number and message. |
| Empty content | Erases memory and adds empty NDEF message to the chip. |
| Text RTD | Includes input field: text. |
| External RTD | Includes input fields: RTD and payload. Can be used e.g. to launch applications. |
| vCard | There are two possibilities for encoding vCard. One is to load existing vCard and the other
is to create new vCard. New vCard can be created with the following content: contact name (compulsory), company, address, phone, mail and website. |
| Format DESFire | Only available for DESFire tags. Erases memory of DESFire tag and initialize it so that it can be written again. If the tag is protected, the current key is required for formatting. |
| MIME | Includes input fields: type and payload. |
| Phone call | Includes input fields: name and phone number. |
History of previous contents:
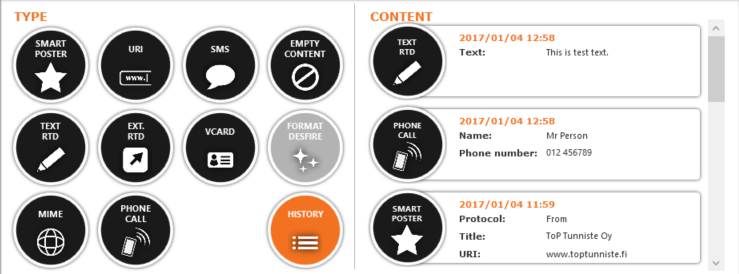
Ten latest unique contents that have been encoded are saved for the further use. Those can be selected from the history list.
Buttons in Content Data -section:

- Add UID -button adds '[uid]' text in the selected input field. When encoding, this text '[uid]' will be replaced with the real UID of the tag, which is encoded.
- Show Content -button opens the content fields in a separate popup view, where the fields can also be edited and saved.
Memory and content size indicators in Content Data -section:

- Writable memory shows in bytes how much memory the tag has.
- Content size shows in bytes how much memory current content will take. This value changes accordingly when the current content changes.
- Memory left shows in bytes how much memory the tag has left for the content. This will turn red if content size is greater than writable memory size. In that case encoding is also disabled.
Write protection features:

- Write protection has different states for different tag types when it is turned on.
- Permanent protection protects a tag permanently so that the tag cannot be written again. See from the supported tag types - section which tags can be permanently protected.

- Password protection protects a tag by 8 hex characters. Password protected tags can also be protected permanently, so there is a choice between password and permanent protection available. A tag, that has not yet been password protected, will only have a new password field available to be typed. A tag, that has been password protected, will have both current password and new password fields available. Password protected tag also automatically sets write protection on when it is read. See from the supported tag types section which tags can be protected by a password.
- Password protection removing can be done by turning off write protection when a password protected tag is in the reader. Then type the current password and encode the tag. New data can also be written to the tag while removing password protection.
- Mifare Classic 1K and 4K have key protection of 12 hex characters and are always protected by key. It's possible to write to the tag without key, then application uses default key, that only works however if the key has not been changed. When write protecting these tags, current key field could be left empty if the key has not been yet changed.
- Mifare DESFire has key protection of 32 hex characters. Write protecting DESFire tag protects the tag permanently. Permanent protection of Mifare DESFire can be undoed by format DESFire functionality. Format DESFire requires current key which has been used to protect the tag. When the formatting is done it is again possible to write to the tag.

Encode one:
- Encode one -button makes the write command to one tag with the selected content.
- If the writing was successfully done, the encoding status in Current tag -section will show "encoded successfully" -status.
- If the writing was unsuccessfully done, the encoding status in Current tag -section will show "encoding failed" -status. If the reason for the failure was due to write error, no additional information will be given. However there are few specific fail reasons ("wrong password", "password writing failed" and "multiple tags detected"), which are also shown in the status indication. In addition, when writing has failed, the encoding button will turn red and an error sound is played.
Continuous encoding:
- Start continuous encoding -button will allow writing the selected content continuously to as many tags as needed. It has a counter which shows how many tags have been written.
- Writing is restricted to the tag type that was written first. If tag type changes it will stop the continuous encoding and Current tag -section's encoding status will show "encoding failed - tag type changed".
- Continuous encoding will also stop if (1) content changes, (2) content type changes, (3) write protection status changes, (4) to creation button is clicked, (5) either read or encode log is started or (6) main view is changed to Tag batch.
- Continuous encoding also has the same specific fail reasons that are mentioned in the "Encode one" section. Continuous encoding button will also turn red if encoding fails.
Toolbar buttons:

- Encode log -button starts and stops writing the encoded content of the written tags to the log file.
- Open log -button opens the log folder. Encode log filepath is C:\Users\Public\NFC Creation Studio\Logs\NFC_write\. Though the drive may be different than 'C:'.
Examples of creating content:
- Example of creating email via smart poster:
1. Select as protocol "mailto:".
2. Set the title.
3. Set URI as follows "test@gmail.com?subject=Subject&body=Test message".*
*First part of URI consist of mail address, in this case "test@gmail.com".
Second part is the subject. After "subject=" the subject can be set.
Third part is the body. After "body=" the message can be set.
- Examples of launching android applications via external RTD:
* Launching chrome: Set RTD as android.com:pkg and payload as com.android.chrome
* Launching gmail: Set RTD as android.com:pkg and payload as com.google.android.gm
* Launching calendar: Set RTD as android.com:pkg and payload as com.google.android.calendar
* Launching file manager: Set RTD as android.com:pkg and payload as com.rhmsoft.fm
* Launching documents: Set RTD as android.com:pkg and payload as com.google.android.apps.docs

